Overview
The GameBoost API uses Bearer Token authentication to secure all API endpoints. You’ll need to include your API key in theAuthorization header of every request.
All API requests must be made over HTTPS. Requests made over plain HTTP will fail.
Getting Your API Key
Your API key is available in the GameBoost Partner Dashboard. Follow these steps to retrieve it:Log in to Partner Dashboard
Navigate to gameboost.com/dashboard and sign in with your partner account.
Not a partner yet? Go to jobs.gameboost.com and apply as a seller.

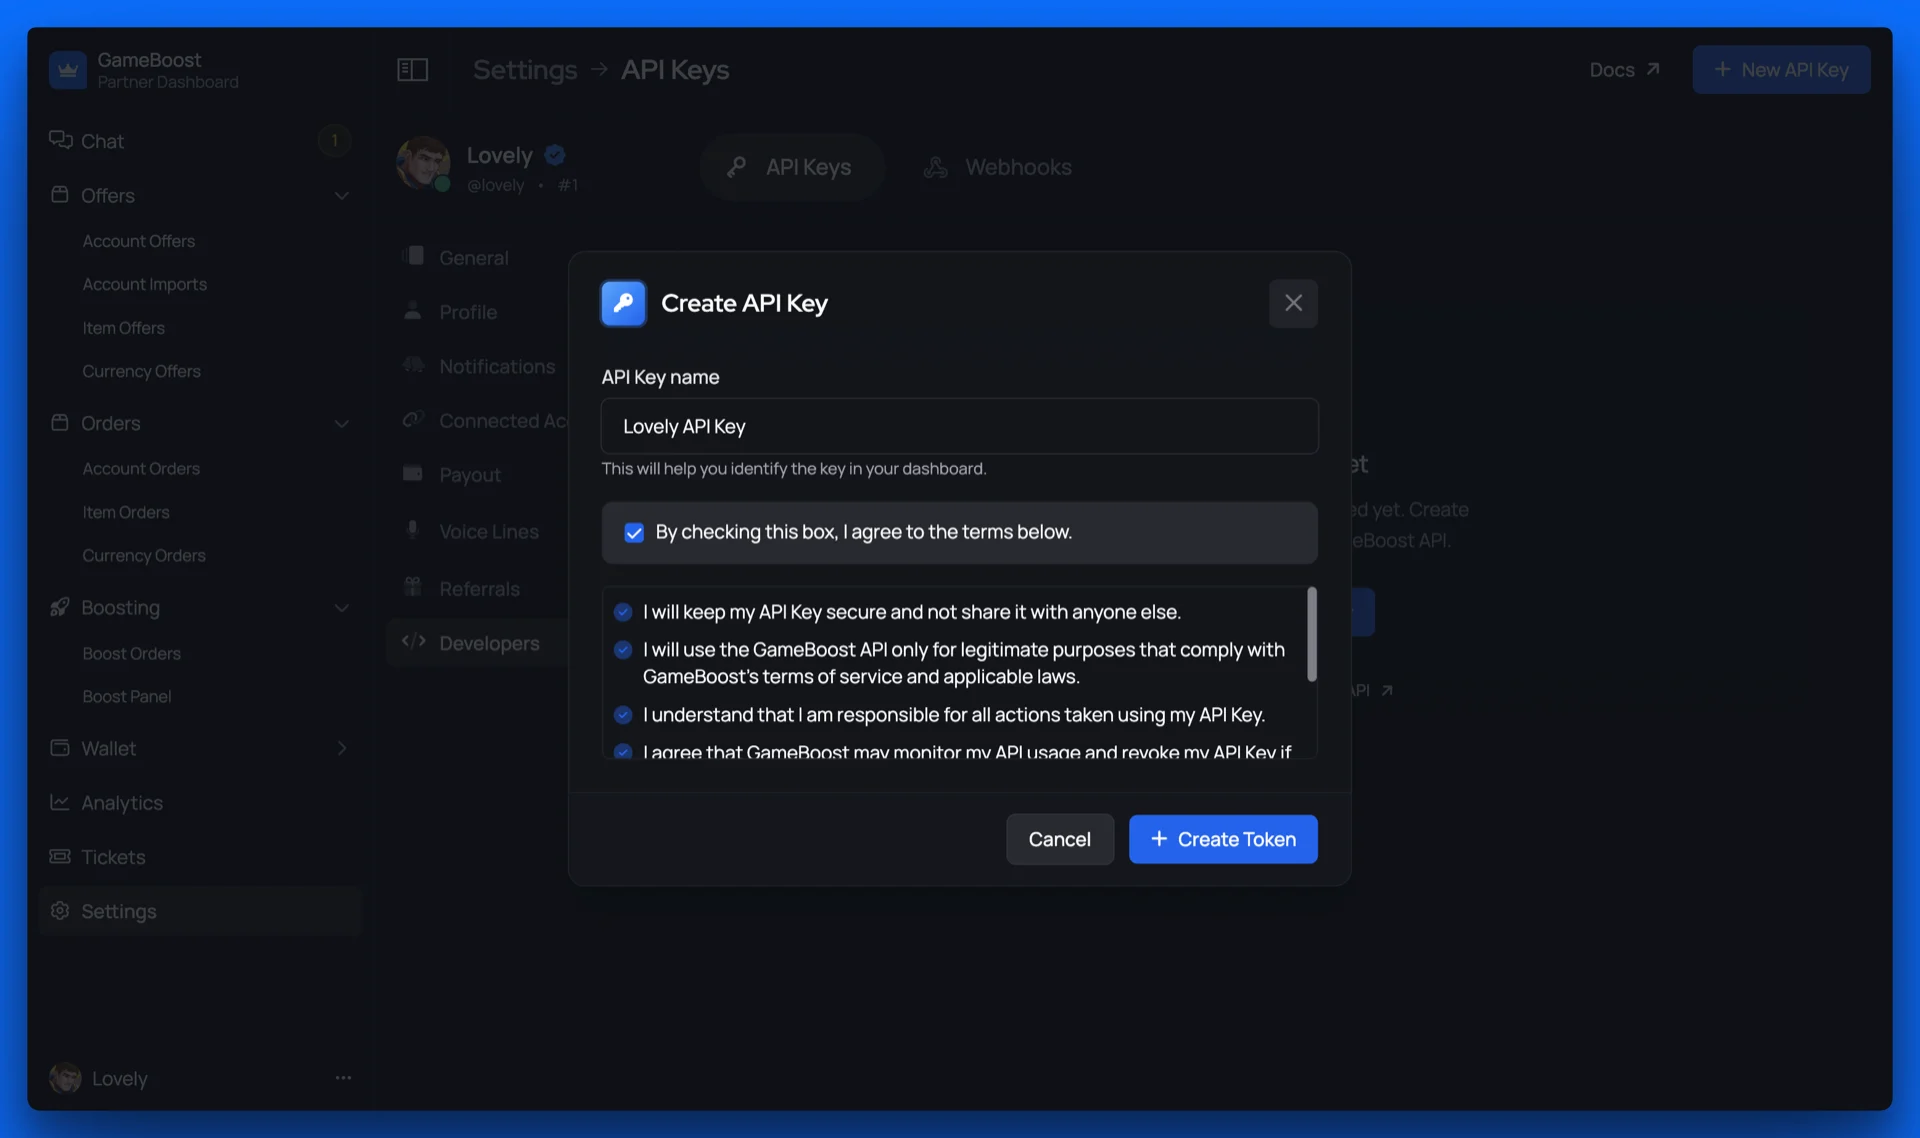
Generate or View API Key
- If you haven’t created an API key yet, click New API Key
- Give your API key a descriptive name to help you identify it later.
- By default, all API keys have full access to your account.
Copy and Secure Your Key
Copy your API key and store it in a secure location such as:
- Environment variables in your application
- A secure secrets manager (1Password, AWS Secrets Manager, etc.)
- Encrypted configuration files
Your API key is ready to use! You can now make authenticated requests to the GameBoost API.
Making Authenticated Requests
Include your API key in theAuthorization header using the Bearer token scheme:
Managing Your API Keys
Rotating API Keys
For security best practices, we recommend rotating your API keys periodically:You can have up to 2 active API keys at once to facilitate smooth key rotation without downtime.
Revoking API Keys
If your API key is compromised or no longer needed, revoke it immediately: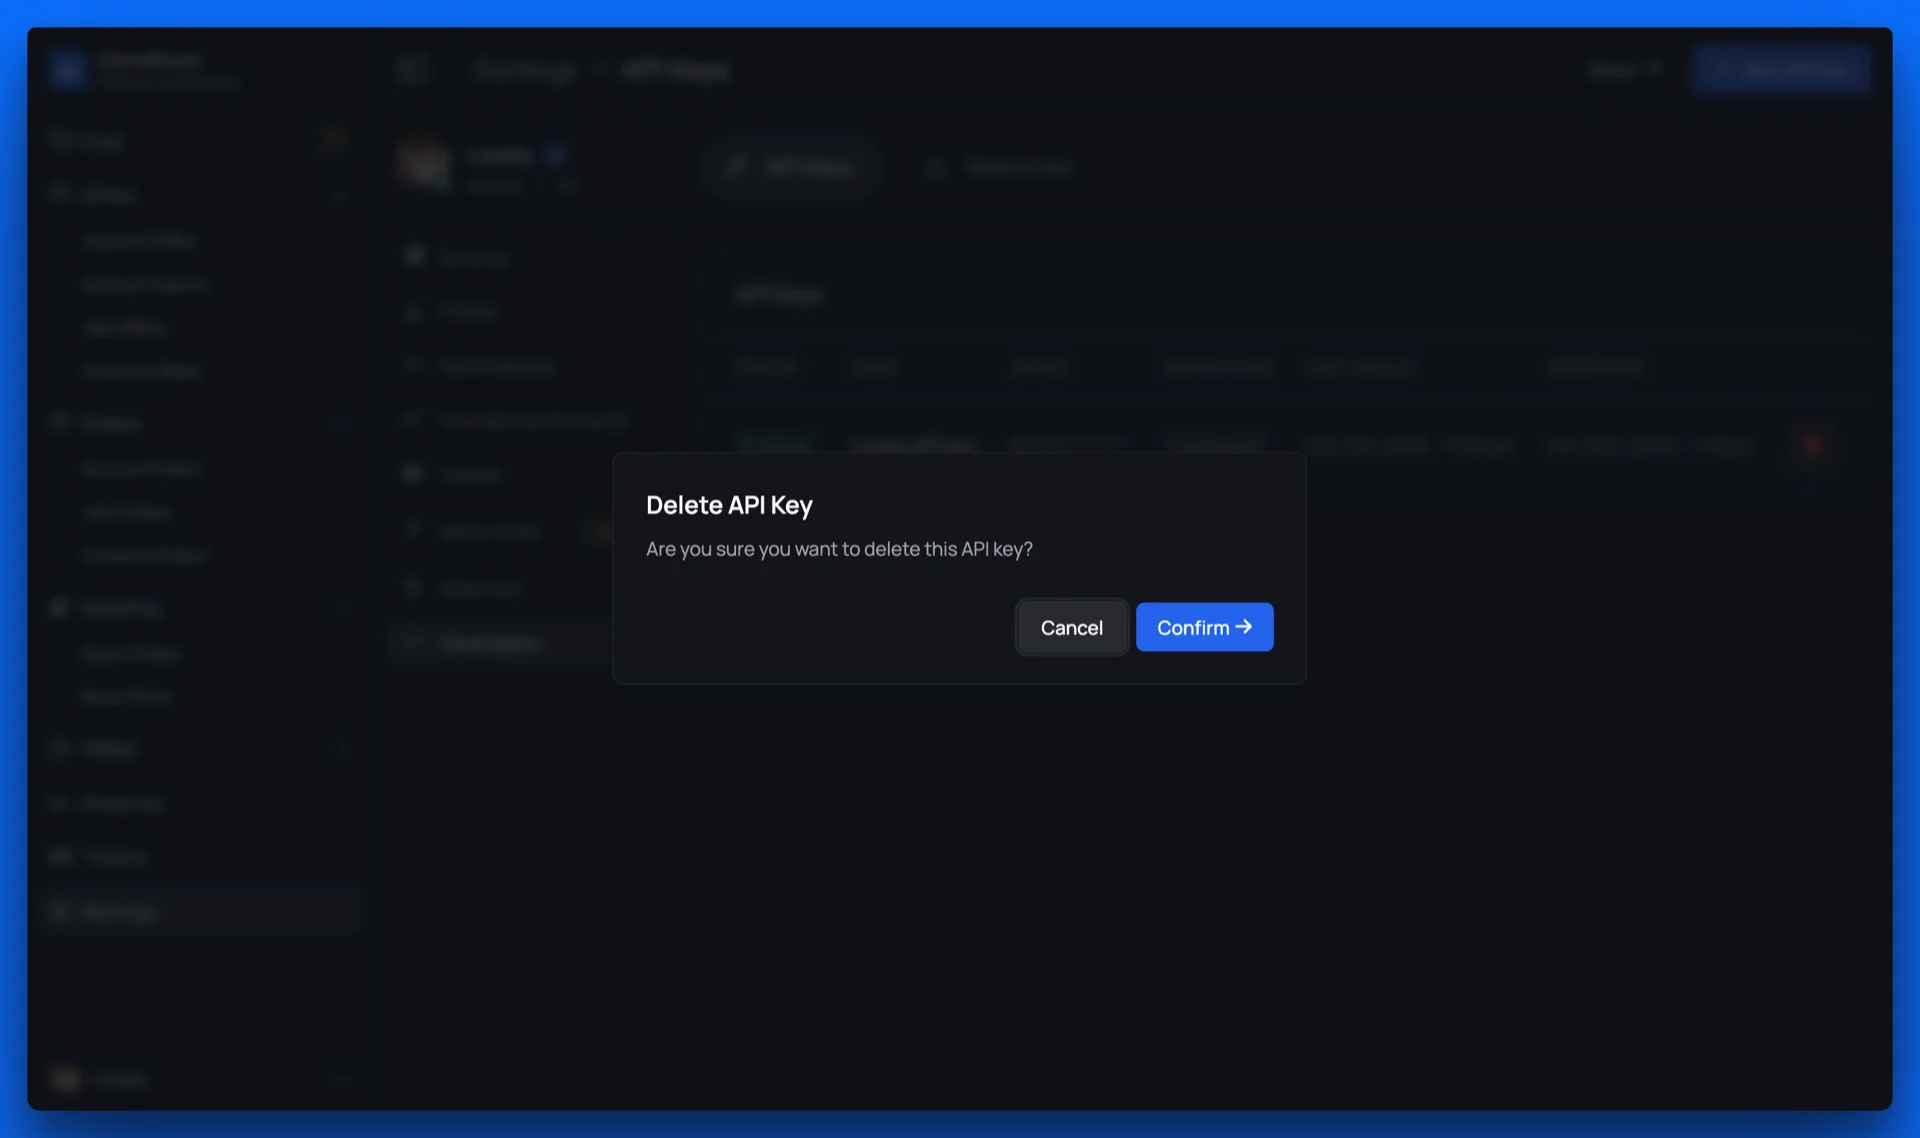
Security Best Practices
Store keys securely
Store keys securely
- Never commit API keys to version control
- Use environment variables or secure secrets management services
- Encrypt configuration files that contain API keys
- Restrict access to API keys on a need-to-know basis
Use HTTPS only
Use HTTPS only
- Always make API requests over HTTPS
- Never send API keys over unencrypted connections
- Validate SSL certificates in your API client
Rotate keys regularly
Rotate keys regularly
- Rotate API keys every 90 days as a best practice
- Immediately rotate keys if you suspect compromise
- Use the dual-key system to enable zero-downtime rotation
Protect against scams
Protect against scams
- Never share API keys between team members or applications
- Be wary of phishing attempts asking for your API key
- Never enter your API key on suspicious websites or third-party tools
- Report any suspicious activity or unauthorized access immediately
Next Steps
Now that you’ve set up authentication, you’re ready to start making API requests:API Responses
Learn about response formats and error handling
Rate Limiting
Understand rate limits and best practices
API Reference
Explore available endpoints and start building
Webhooks
Set up real-time event notifications